Instagram filters are presets built into the Instagram app that adjust brightness, contrast, saturation, warmth, and color tones with a single tap. They’ve existed since Instagram launched in 2010, and remain one of the fastest ways to improve your photos and videos without switching to a separate editing app. As of April 2026, Instagram offers 24 post filters and a rotating set of AR-powered Story filters created by Meta.
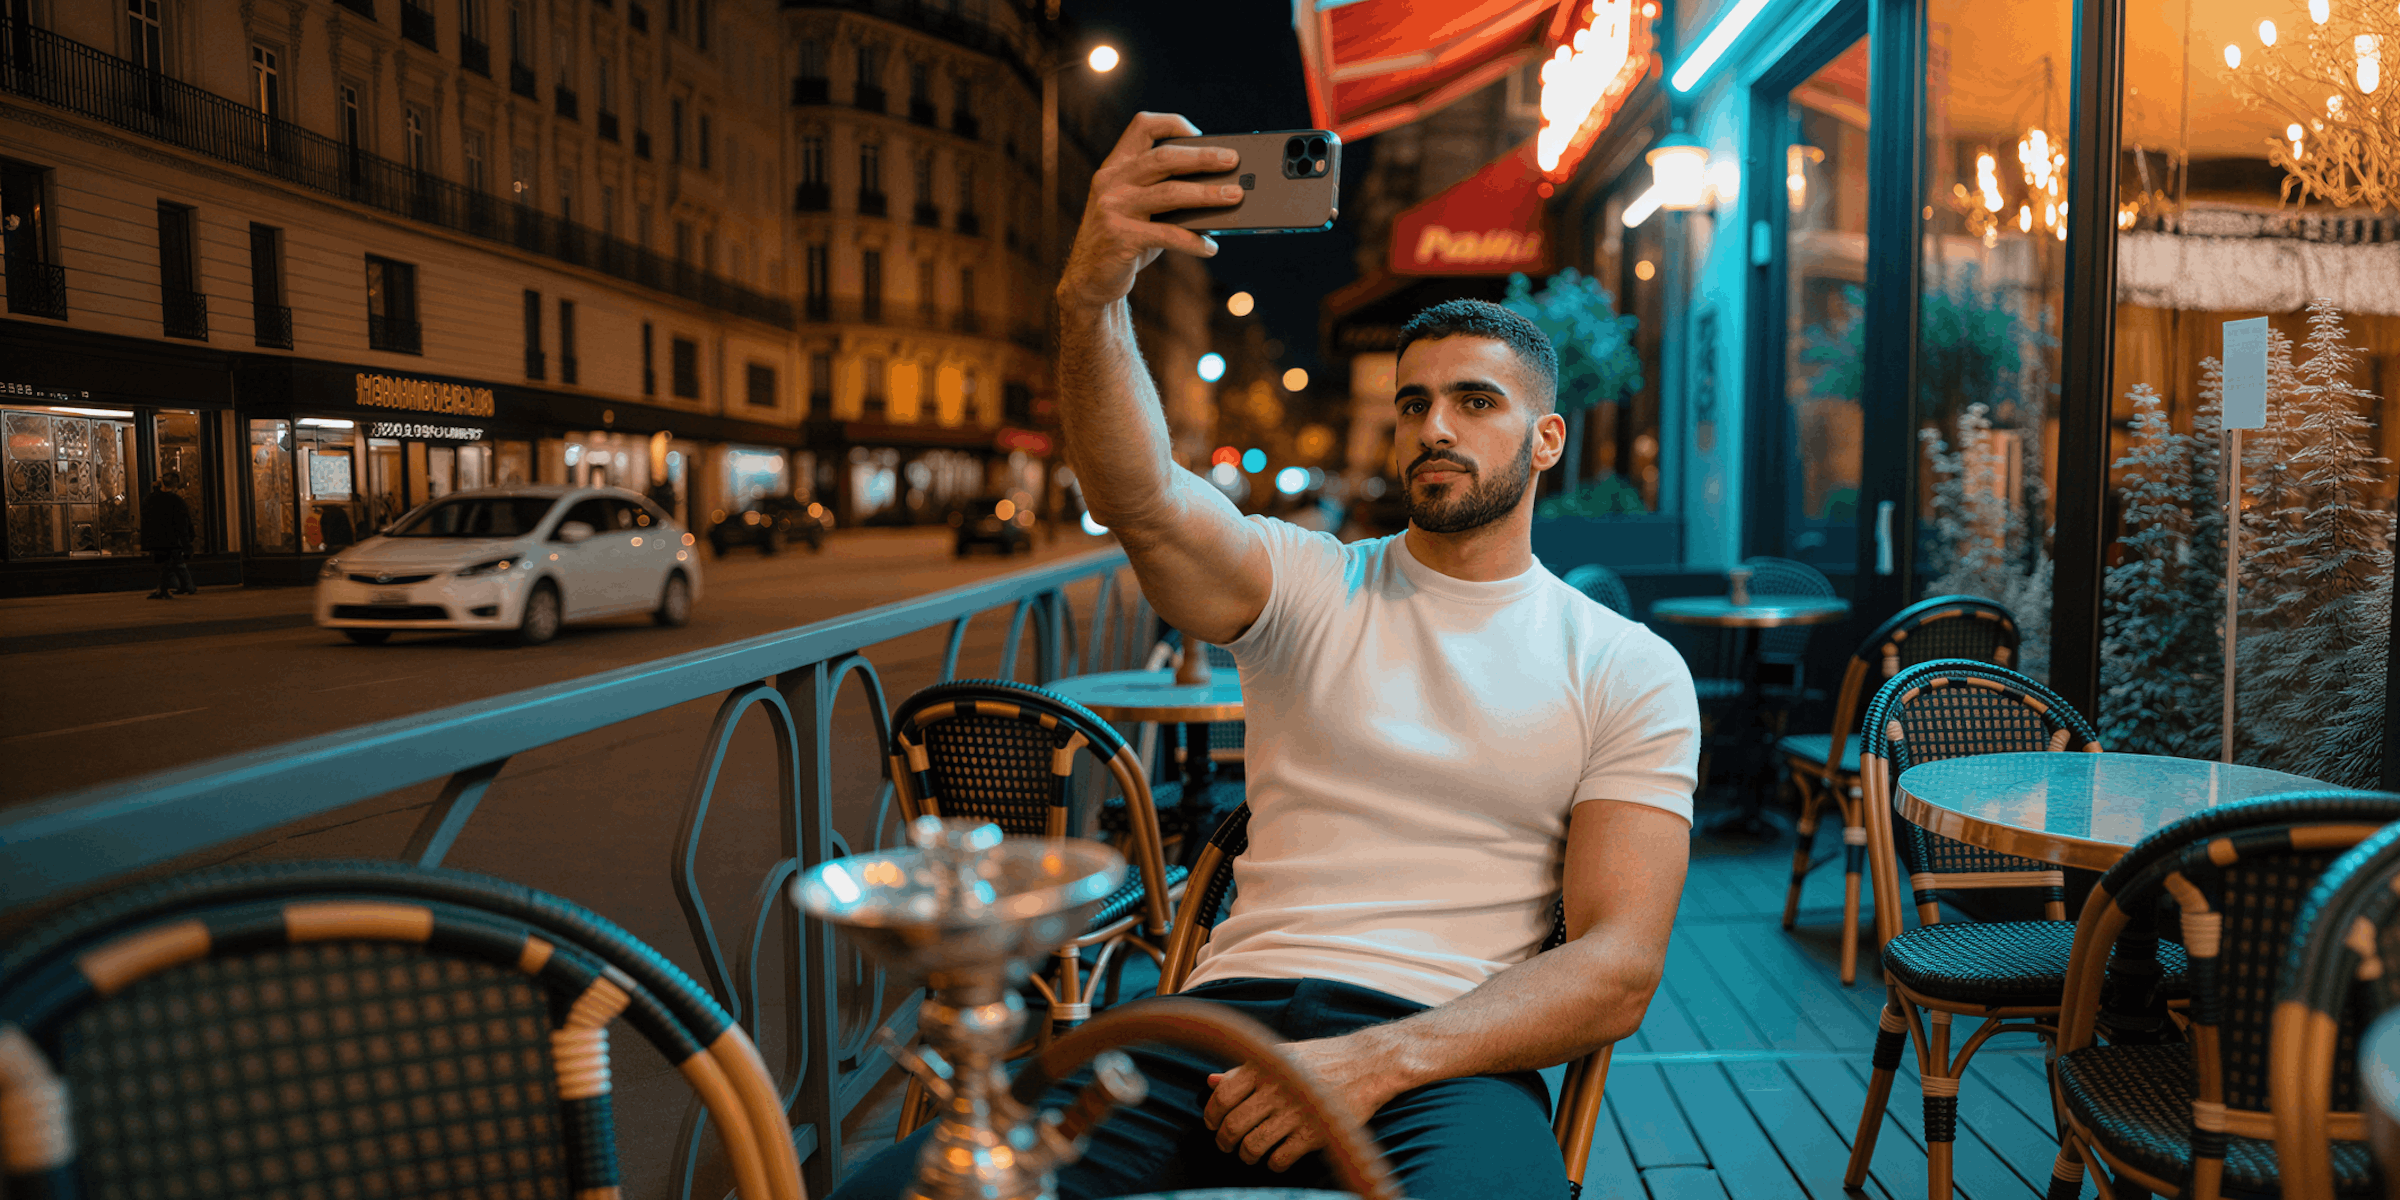
You snap a photo. The lighting is decent. The composition works. But the image feels flat. A filter fixes that in one tap. No Lightroom. No editing skills needed. The right filter turns a good photo into a scroll-stopping post that gets saved, shared, and DM’d to friends.
This guide covers how Instagram filters work, the most popular ones ranked by global usage data, how to pick the right filter for your niche, and practical tips to level up your content without overcomplicating your workflow.
Key Takeaways
- Clarendon dominates globally: Used in 119 countries, Clarendon is the most popular Instagram filter worldwide, adding cool blue tones and higher contrast (Canva analysis of 1M+ photos, canva.com/learn/popular-instagram-filters)
- Post filters vs Story filters are different: Post filters adjust color/contrast on grid posts and Reels, while Story filters are AR effects created by Meta (third-party AR effects were removed when Meta shut down Spark AR Studio in early 2025)
- Filter intensity is adjustable: After applying any filter, tap the filter name again to reveal a 0-100% intensity slider, letting you dial back the effect for a more natural look
- Filtered photos get 21% more views: A Georgia Tech and Yahoo Labs study of 7.6 million photos found filtered photos are 21% more likely to be viewed and 45% more likely to receive comments than unfiltered photos (AAAI ICWSM 2015). Warm-toned filters with higher exposure and contrast drove the strongest engagement
- Consistency beats perfection: Sticking to 2-3 filters across your feed creates visual cohesion, which builds brand recognition faster than switching filters on every post
- Bottom line: Pick one filter as your default, adjust intensity to 40-70%, and pair filtered content with a strong hook and CTA to turn views into DMs, saves, and sales

How Instagram Filters Work
Instagram filters are presets that automatically adjust multiple visual properties of your photo or video at once. Instead of manually tweaking brightness, contrast, saturation, warmth, and shadow intensity in a separate editing app, you tap a filter name and get a polished look in seconds.
What a filter changes:
- Brightness and exposure (how light or dark the image appears)
- Contrast (the difference between light and dark areas)
- Saturation (how vivid or muted colors appear)
- Color temperature (warm/yellow tones vs cool/blue tones)
- Shadow and highlight intensity (how deep the darks, how bright the lights)
- Vignette (darkening around the edges, used by some filters)
How to apply a filter:
- Open Instagram and tap the + button
- Select your photo or video
- Swipe left through the filter options at the bottom
- Tap a filter to preview it
- Tap the filter name again to adjust intensity (0-100%)
- Share to your feed
Post Filters vs Story Filters
Instagram has two completely different filter systems. Mixing them up is a common mistake.
Post filters (Clarendon, Valencia, Gingham, Juno, etc.) are color and tone adjustments applied to photos and videos before sharing to your grid or Reels. They’re static. No motion, no interactivity. They define your overall aesthetic and feed cohesion.
Story filters are AR (augmented reality) effects in the Instagram camera. Face filters, color washes, animated overlays, interactive effects that respond to your movements in real time. These only work in Stories.
A significant change happened in early 2025: Meta shut down Spark AR Studio, its third-party creator platform for AR effects (spark.meta.com/blog/meta-spark-announcement). All user-generated AR effects from Instagram, Facebook, and Messenger were removed. As of April 2026, only filters created and owned by Meta are available in Stories.
Cross-compatibility rules:
- You cannot apply a Story filter to a feed post directly
- You can apply some post filters to Stories (Jakarta, Paris, Los Angeles work, but not all)
- Workaround: Record a Story with the filter, save it to camera roll, then upload as a Reel
How to Find Trending Story Filters
Story filters rotate in popularity and tie to trends, similar to trending sounds on Reels.
- Open Instagram and tap +, then Story
- Swipe through the filters at the bottom of the screen
- Swipe until you reach the search icon
- Tap the search icon to browse categories and a “Trending” section
- Try filters before committing, they preview in real-time on your camera
Meta regularly adds new Story filters, so the trending section changes weekly. Check it before posting your next Story to stay current.
The 15 Best Instagram Filters Ranked
These rankings are based on a Canva analysis of over 1 million Instagram photos tagged with #nature, #fashion, #food, and #selfie (canva.com/learn/popular-instagram-filters), combined with engagement data from multiple social media research sources.
1. Clarendon
The most popular Instagram filter worldwide, used in 119 countries.
Clarendon increases image contrast and saturation while applying a cool, blue tint to shadows and highlights. The result is a vibrant, crisp, cool-toned image that works across almost every content type.
What it does: Boosts contrast, deepens shadows, adds cool blue undertones, increases saturation by approximately 15-20%
Best for: All-around use. Portraits, landscapes, food photography, travel shots, product photos. If you’re unsure which filter to pick, start with Clarendon.
Why it’s #1: Clarendon enhances without transforming. Your photo still looks like your photo, just better. It doesn’t add a heavy color cast or vintage effect, so it works with nearly every lighting condition and subject.
Pro tip: At 100% intensity, Clarendon can oversaturate already colorful images. Dial it back to 50-70% for photos with strong existing colors (sunsets, flowers, neon signs).
2. Valencia
Warm, nostalgic, film-like. The #2 filter globally, popular across 29 countries including South America and Central Europe.
Valencia adds a warm, slightly yellow/sepia glow and increases overall exposure. Photos come out looking like they were shot on analog film. Warm and soft without being muddy.
What it does: Adds warm yellow tones, softens shadows, increases exposure, creates a subtle film grain effect
Best for: Travel photography, fashion content, lifestyle shots, golden-hour photos. Anything where warmth makes the image feel more inviting.
Why creators love it: The Georgia Tech/Yahoo Labs study found warm-toned filters with higher exposure generate the most engagement, and Valencia hits both marks. It adds warmth and lifts exposure simultaneously. Valencia is the top filter for #nature and #fashion photography according to Canva’s global analysis (canva.com/learn/popular-instagram-filters).
3. Gingham
Retro, muted, understated. Consistently ranks top 3 globally.
Gingham creates a vintage aesthetic by washing out colors and reducing highlights by nearly half. It layers magenta and yellow tones for a soft, hazy, retro look. Despite the warm undertones, the overall effect feels cooler than Valencia.
What it does: Reduces saturation and highlights, adds magenta/yellow tones, creates a faded vintage look, softens contrast
Best for: Flat lays, minimalist content, vintage or retro aesthetics, cafe and bookshop photography, muted fashion shots.
When to skip it: Gingham kills vibrancy. If your content relies on bright, punchy colors (food photography, product shots with bold packaging), Gingham will wash it out.
4. Juno
Moody, saturated, flattering. The portrait specialist.
Juno sharpens details and increases contrast and saturation, with a bias toward red, yellow, and orange tones. Shadows go deeper, and details get smoothed.
What it does: Increases saturation of warm tones, deepens shadows, sharpens details, smooths skin tones slightly
Best for: Food photography, flowers, selfies, city photography, portraits. Anywhere warm saturation and deeper contrast improve the image.
Research-backed: A study published by the National Library of Medicine found that Juno increases the probability a photo will be perceived as more flattering by 69%. Participants chose Juno as the single most flattering Instagram filter in the study.
5. Lark
Airy, editorial, clean. The nature photographer’s go-to.
Lark mutes reds and boosts blues, producing a soft yet bright aesthetic that works for minimal, lifestyle photography. It creates a clean, editorial look without feeling overprocessed.
What it does: Pales red tones, highlights blue tones, increases brightness, creates an airy/editorial atmosphere
Best for: Nature photography, interiors, fashion flat lays, selfies, bright lifestyle content. Popular on the West Coast of the U.S. where outdoor and nature content thrives.
6. Ludwig
High contrast, dramatic shadows. The architecture filter.
Ludwig adds depth by increasing contrast and slightly warming highlights while cooling shadows. It creates a sophisticated, editorial look that works particularly well with geometric compositions.
What it does: Boosts contrast significantly, warms highlights, cools shadows, adds depth to geometric compositions
Best for: Architecture, urban photography, dramatic portraits, product photography with clean backgrounds.
7. Nashville
Golden, warm, high-brightness. The nostalgic storyteller.
Nashville pushes warmth and brightness to create an almost dreamlike quality. Everything looks sun-drenched and inviting. Strong pink/warm undertones give photos a distinctly American vintage feel.
What it does: Adds strong warm/pink tones, increases brightness significantly, softens contrast, creates a dreamy atmosphere
Best for: Lifestyle content, brunch photos, golden-hour captures, fashion and beauty shots, travel content.
Warning: Nashville is one of the strongest filters. At 100% it can overpower your image. Keep it at 30-50% intensity for most photos.
8. Lo-Fi
Bold, saturated, high-contrast. The attention-grabber.
Lo-Fi cranks up contrast and saturation to make colors pop aggressively. Shadows go dark, highlights go bright, and everything in between gets more vivid.
What it does: Dramatically increases contrast and saturation, deepens shadows, brightens highlights, adds vignette
Best for: Food photography (makes dishes look more appetizing), bold fashion shots, street photography, any content where you want maximum visual impact in the feed.
When to use it: When your photo looks flat and needs punch. Lo-Fi is the “turn it up to 11” filter.
9. X-Pro II
High contrast, vignette, vintage. The film camera simulator.
X-Pro II mimics cross-processed film with high contrast, a warm color shift, and a strong vignette (darkened edges). The result looks like it came from a disposable camera in the best way possible.
What it does: Adds warm cross-processing effect, strong vignette, high contrast, slight color shift toward gold/amber
Best for: Concert photography, nightlife, street photography, any content that benefits from a gritty, authentic film look.
10. Sierra
Soft, radiant, subtle. The “barely there” enhancer.
Sierra adds a soft, warm glow without dramatically changing the image. It reduces contrast slightly while adding a subtle warm wash. The effect is barely noticeable at first glance, which is the point.
What it does: Adds subtle warmth, reduces harsh contrast, softens highlights, creates a gentle glow
Best for: Skincare and beauty content, soft portraits, product photography where you want a gentle enhancement without obvious filtering.
11. Rise
Warm, golden, morning light. The breakfast filter.
Rise replicates early morning sunlight by adding a warm yellow cast and increasing brightness. It softens shadows and creates a gentle, inviting glow.
What it does: Adds golden warm tones, increases brightness, softens shadows, creates morning-light atmosphere
Best for: Food photography (especially breakfast/brunch), lifestyle content, home interior shots, morning routine content.
12. Aden
Pastel, desaturated, delicate. The minimalist’s choice.
Aden reduces saturation and adds a subtle pastel wash, creating a soft, delicate look. It mutes bold colors and creates a cohesive, calming aesthetic across your feed.
What it does: Reduces saturation, adds pastel tones, softens contrast, creates a muted palette
Best for: Minimalist aesthetics, flat lays, beauty content, home decor, any feed going for a soft, cohesive look.
13. Perpetua
Green-tinted, fresh, natural. The plant lover’s filter.
Perpetua pushes toward green/teal tones while maintaining brightness. It creates a fresh, natural look that complements outdoor and plant-based content.
What it does: Adds subtle green/teal tones, maintains brightness, creates a fresh natural feel
Best for: Plant and garden content, outdoor photography, wellness and health content, eco-friendly product photography.
14. Mayfair
Pink-warm, slight vignette, feminine. The beauty filter.
Mayfair adds warm pink tones with a subtle vignette edge. The effect is soft, feminine, and flattering for skin tones.
What it does: Adds warm pink tones, subtle vignette, slight saturation boost, flatters skin tones
Best for: Beauty and makeup content, fashion photography, feminine lifestyle brands, self-portraits.
15. Crema
Desaturated, cream-toned, vintage-modern. The branding filter.
Crema adds a desaturated, creamy tone that creates consistency across wildly different photos. It’s the go-to for creators who want a cohesive feed without dramatic color changes.
What it does: Desaturates colors, adds cream/beige undertone, reduces contrast slightly, creates visual consistency
Best for: Brand-focused feeds, product photography, lifestyle content where feed cohesion matters more than individual photo impact.
How to Pick the Right Filter for Your Niche
Different niches benefit from different filter approaches. Here’s a quick reference:
| Niche | Best Filters | Why |
|---|---|---|
| Food & Recipe | Juno, Lo-Fi, Rise | Warm saturation makes food look appetizing |
| Travel | Valencia, Clarendon, Nashville | Warm/bright tones enhance travel imagery |
| Fashion & Beauty | Juno, Mayfair, Lark | Flattering for skin tones and fabrics |
| Fitness | Clarendon, Ludwig | High contrast shows muscle definition |
| Nature & Outdoors | Lark, Perpetua, Clarendon | Cool/green tones complement outdoor scenes |
| Minimalist / Home | Gingham, Aden, Crema | Muted tones match clean aesthetics |
| Urban / Street | X-Pro II, Lo-Fi, Ludwig | High contrast and drama for city content |
| Personal Brand / Coach | Clarendon, Valencia, Crema | Professional yet approachable tones |
The consistency rule: Pick 2-3 filters and stick with them. Your feed should feel cohesive when someone lands on your profile. Switching between 10 different filters makes your grid look chaotic and hurts brand recognition.
5 Filter Tips That Improve Your Content
1. Adjust Filter Intensity (Most People Skip This)
The default 100% intensity is too strong for most photos. After applying a filter, tap the filter name again to reveal the intensity slider. For most content, 40-70% intensity looks more natural and professional than full strength.
Rule of thumb:
- Already well-lit photo: 30-50% intensity
- Indoor/flat lighting: 60-80% intensity
- Dramatic/moody content: 80-100% intensity
2. Match Your Filter to Your Lighting
Filters interact with your existing lighting conditions. Cool-toned filters (Clarendon, Lark) work best with neutral or cool lighting. Warm-toned filters (Valencia, Nashville, Juno) work best with natural or golden-hour light. Applying a warm filter to already warm lighting creates an orange mess. Applying a cool filter to blue-toned lighting makes everything look icy.
3. Edit First, Filter Second
For the best results, do basic manual edits before applying a filter:
- Straighten and crop
- Adjust exposure if the image is too dark/bright
- Then apply the filter at reduced intensity
This approach gives you more control and prevents the filter from amplifying existing problems (like an underexposed photo becoming muddy with a dark filter).
4. Use Filters for Reels Too
Filters aren’t limited to photos. Apply them to Reels for a consistent visual style across your entire feed. When filming a Reel, apply the filter before recording so the preview shows the filtered result. If you’ve already recorded, apply it in the editing stage before posting.
For your best-performing Reels, pair a polished visual style with a strong opening hook and a clear call-to-action. A great filter gets the scroll-stop. The hook keeps them watching.
5. Build a Filter + Automation System
The content you post matters. But what happens after someone engages with that content matters more.
A polished post with the right filter gets attention. A call-to-action in your caption (“Comment GUIDE for my free preset pack”) turns that attention into action. And DM automation delivers the value instantly.
The system:
- Post filtered, professional-looking content that stands out in the feed
- Include a CTA: “Comment TIPS for my editing preset pack”
- Set up comment-to-DM automation to deliver the preset link
- Capture emails before sending the download
- Build your email list while your content works for you 24/7
This turns every post from a vanity metric into a lead generation system. The filter gets the attention. The automation captures the opportunity.
Instagram Edits App: The New Way to Filter Videos
In April 2025, Instagram launched “Edits,” a standalone video editing app that hit 5 million downloads in its first four days (creators.instagram.com/blog/edits-video-creation-app). Think of it as Instagram’s answer to CapCut.
What Edits offers beyond Instagram’s built-in filters:
- Timeline editor with split, trim, and speed controls
- Video-specific filters and color grading
- Green screen and background removal
- AI-powered effects and auto-generated subtitles
- Text animations and transitions
- HD/4K export quality
- Built-in teleprompter for Reels
- “Apply all” feature to batch-apply filters across multiple clips
When to use Edits vs Instagram filters:
- Use Instagram’s built-in filters for quick posts and Stories where speed matters
- Use Edits for Reels and video content where you want more control over color grading, timing, and transitions
- Use both together: edit in Edits for structure and pacing, then apply an Instagram filter on upload for consistency with your feed aesthetic
The Edits app is free and available on iOS and Android. It doesn’t replace Instagram’s built-in filters. It complements them by giving video content the same level of polish that photo filters give static images.
Instagram’s Built-In Editing Tools (Beyond Filters)
Instagram also includes manual editing tools that let you fine-tune your image before or after applying a filter:
- Brightness: Increase or decrease overall light levels
- Contrast: Adjust the difference between lights and darks
- Structure: Add detail and definition (similar to clarity in Lightroom)
- Warmth: Shift color temperature between cool blue and warm orange
- Saturation: Control how vivid or muted colors appear
- Color: Tint shadows and highlights separately
- Fade: Reduce the intensity of dark tones for a washed-out look
- Highlights: Recover or boost the brightest areas
- Shadows: Lift or deepen the darkest areas
- Vignette: Add or remove edge darkening
- Tilt Shift: Create selective focus blur
- Sharpen: Increase edge definition
Pro tip: The “Structure” tool is the most underrated Instagram edit. Adding 20-30% structure to any photo (with or without a filter) adds clarity and makes text overlays sharper in carousels and Reels thumbnails.
FAQ
Are Instagram filters still relevant in 2026?
Yes. Despite the rise of dedicated editing apps like Lightroom Mobile and VSCO, Instagram’s native filters remain one of the most used photo editing tools on the platform. They’re built into the posting workflow, require zero learning curve, and produce consistent results. For creators who prioritize speed over precision editing, filters save 5-10 minutes per post.
Do filters affect Instagram algorithm performance?
Filters don’t directly impact the algorithm. Instagram’s 2026 ranking signals prioritize watch time, likes-per-reach ratio, and DM shares (confirmed by Adam Mosseri in January 2026). A polished, visually consistent feed builds brand recognition, which indirectly improves those engagement signals. The Georgia Tech study showed filtered photos get 21% more views and 45% more comments, suggesting filters improve the engagement signals that the algorithm does measure. The filter is one tool. Pair it with a strong hook, relevant caption, and clear call-to-action for full impact.
Should I use the same filter on every post?
Not necessarily every post, but limiting yourself to 2-3 filters creates visual cohesion across your feed. When someone visits your profile, a cohesive look signals professionalism and builds trust. Pick a primary filter for 70% of posts and a secondary filter for variation.
What happened to custom Instagram Story filters?
Meta shut down Spark AR Studio in early 2025, removing all third-party user-generated AR effects from Instagram, Facebook, and Messenger. As of April 2026, only Meta-created Story filters are available. This reduced the total number of Story filters significantly but standardized quality across the platform.
Can I use filters on Reels?
Yes. Filters can be applied to Reels both before recording (live preview) and during editing before posting. The same 24 post filters available for photos work on Reels. Story AR filters can only be applied during recording, not in post-production.
What’s the best filter for food photography?
Juno and Lo-Fi work best for food content. Juno enhances warm tones (reds, oranges, yellows) which make food look appetizing, while Lo-Fi adds contrast and saturation that makes dishes pop in the feed. Rise adds a warm morning glow that works well for breakfast and brunch content. Avoid cool-toned filters like Lark for food, as blue tones suppress appetite.
How do I remove a filter after posting?
You can’t change or remove a filter after posting. The filter becomes part of the published image. To change it, you’d need to delete the post and re-upload with a different filter or no filter. This is why previewing at different intensity levels before posting is worth the extra 30 seconds.